
Last week with this image and I hope you have liked it so far. I’ve struggled working out what people would like for this challenge, or if they want it at all. This month has been more tutorial type of posts. I don’t know if I can do these all the time, but if people are interested I can give it some thought.
As a reminder we are using ON1 Photo Raw 2025 for this challenge this month. Please take a look at Joanne’s post too.
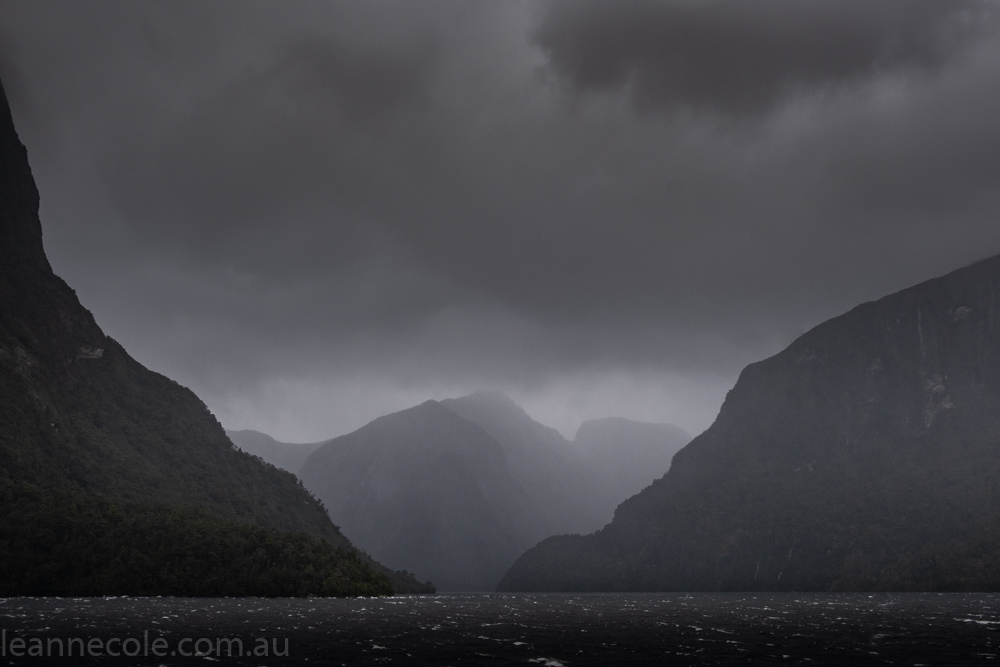
Let’s take a look at the original image again.

This week we are going to look at one of the Effects you can apply to your image.
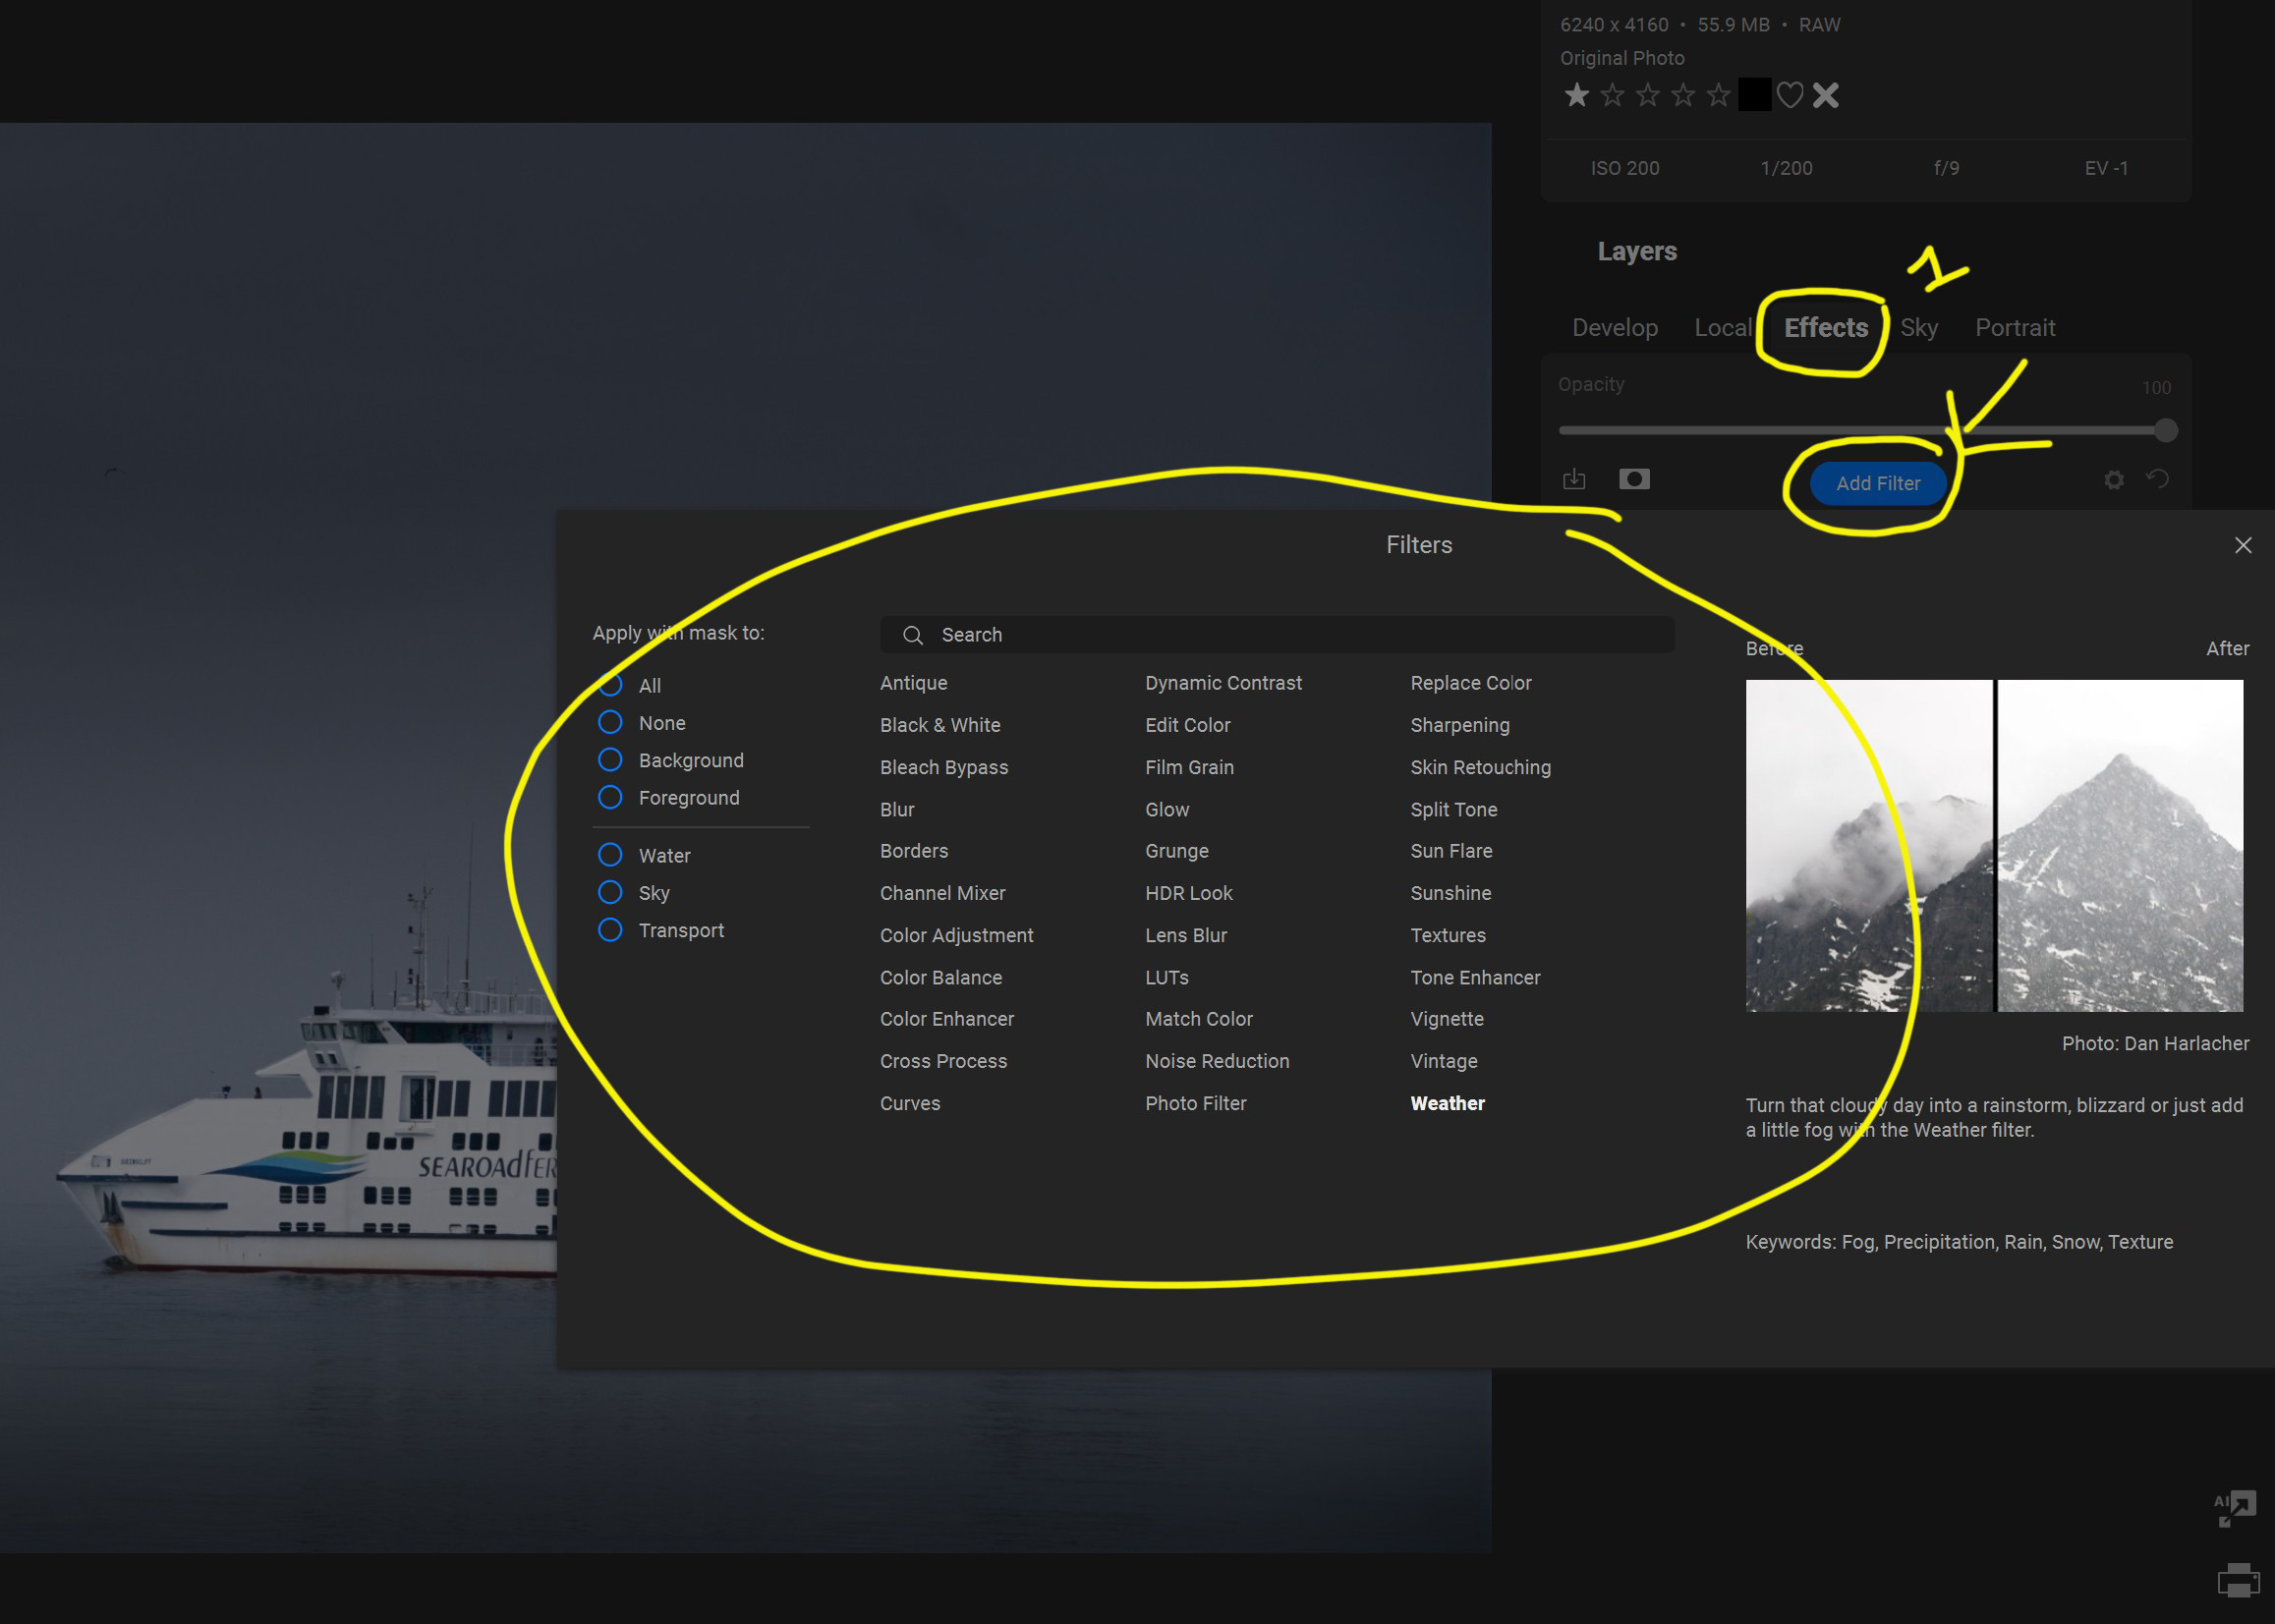
Next to where we were clicking Local, we will now click Effects. Then under that you can see Add Filter, and a window will pop up with lots of the filters you can use. These are not presets.
If you hover your mouse over the Filters the image on the right will show you what the Filter can do, but really the best way is to just click on them and see what they do to your image.
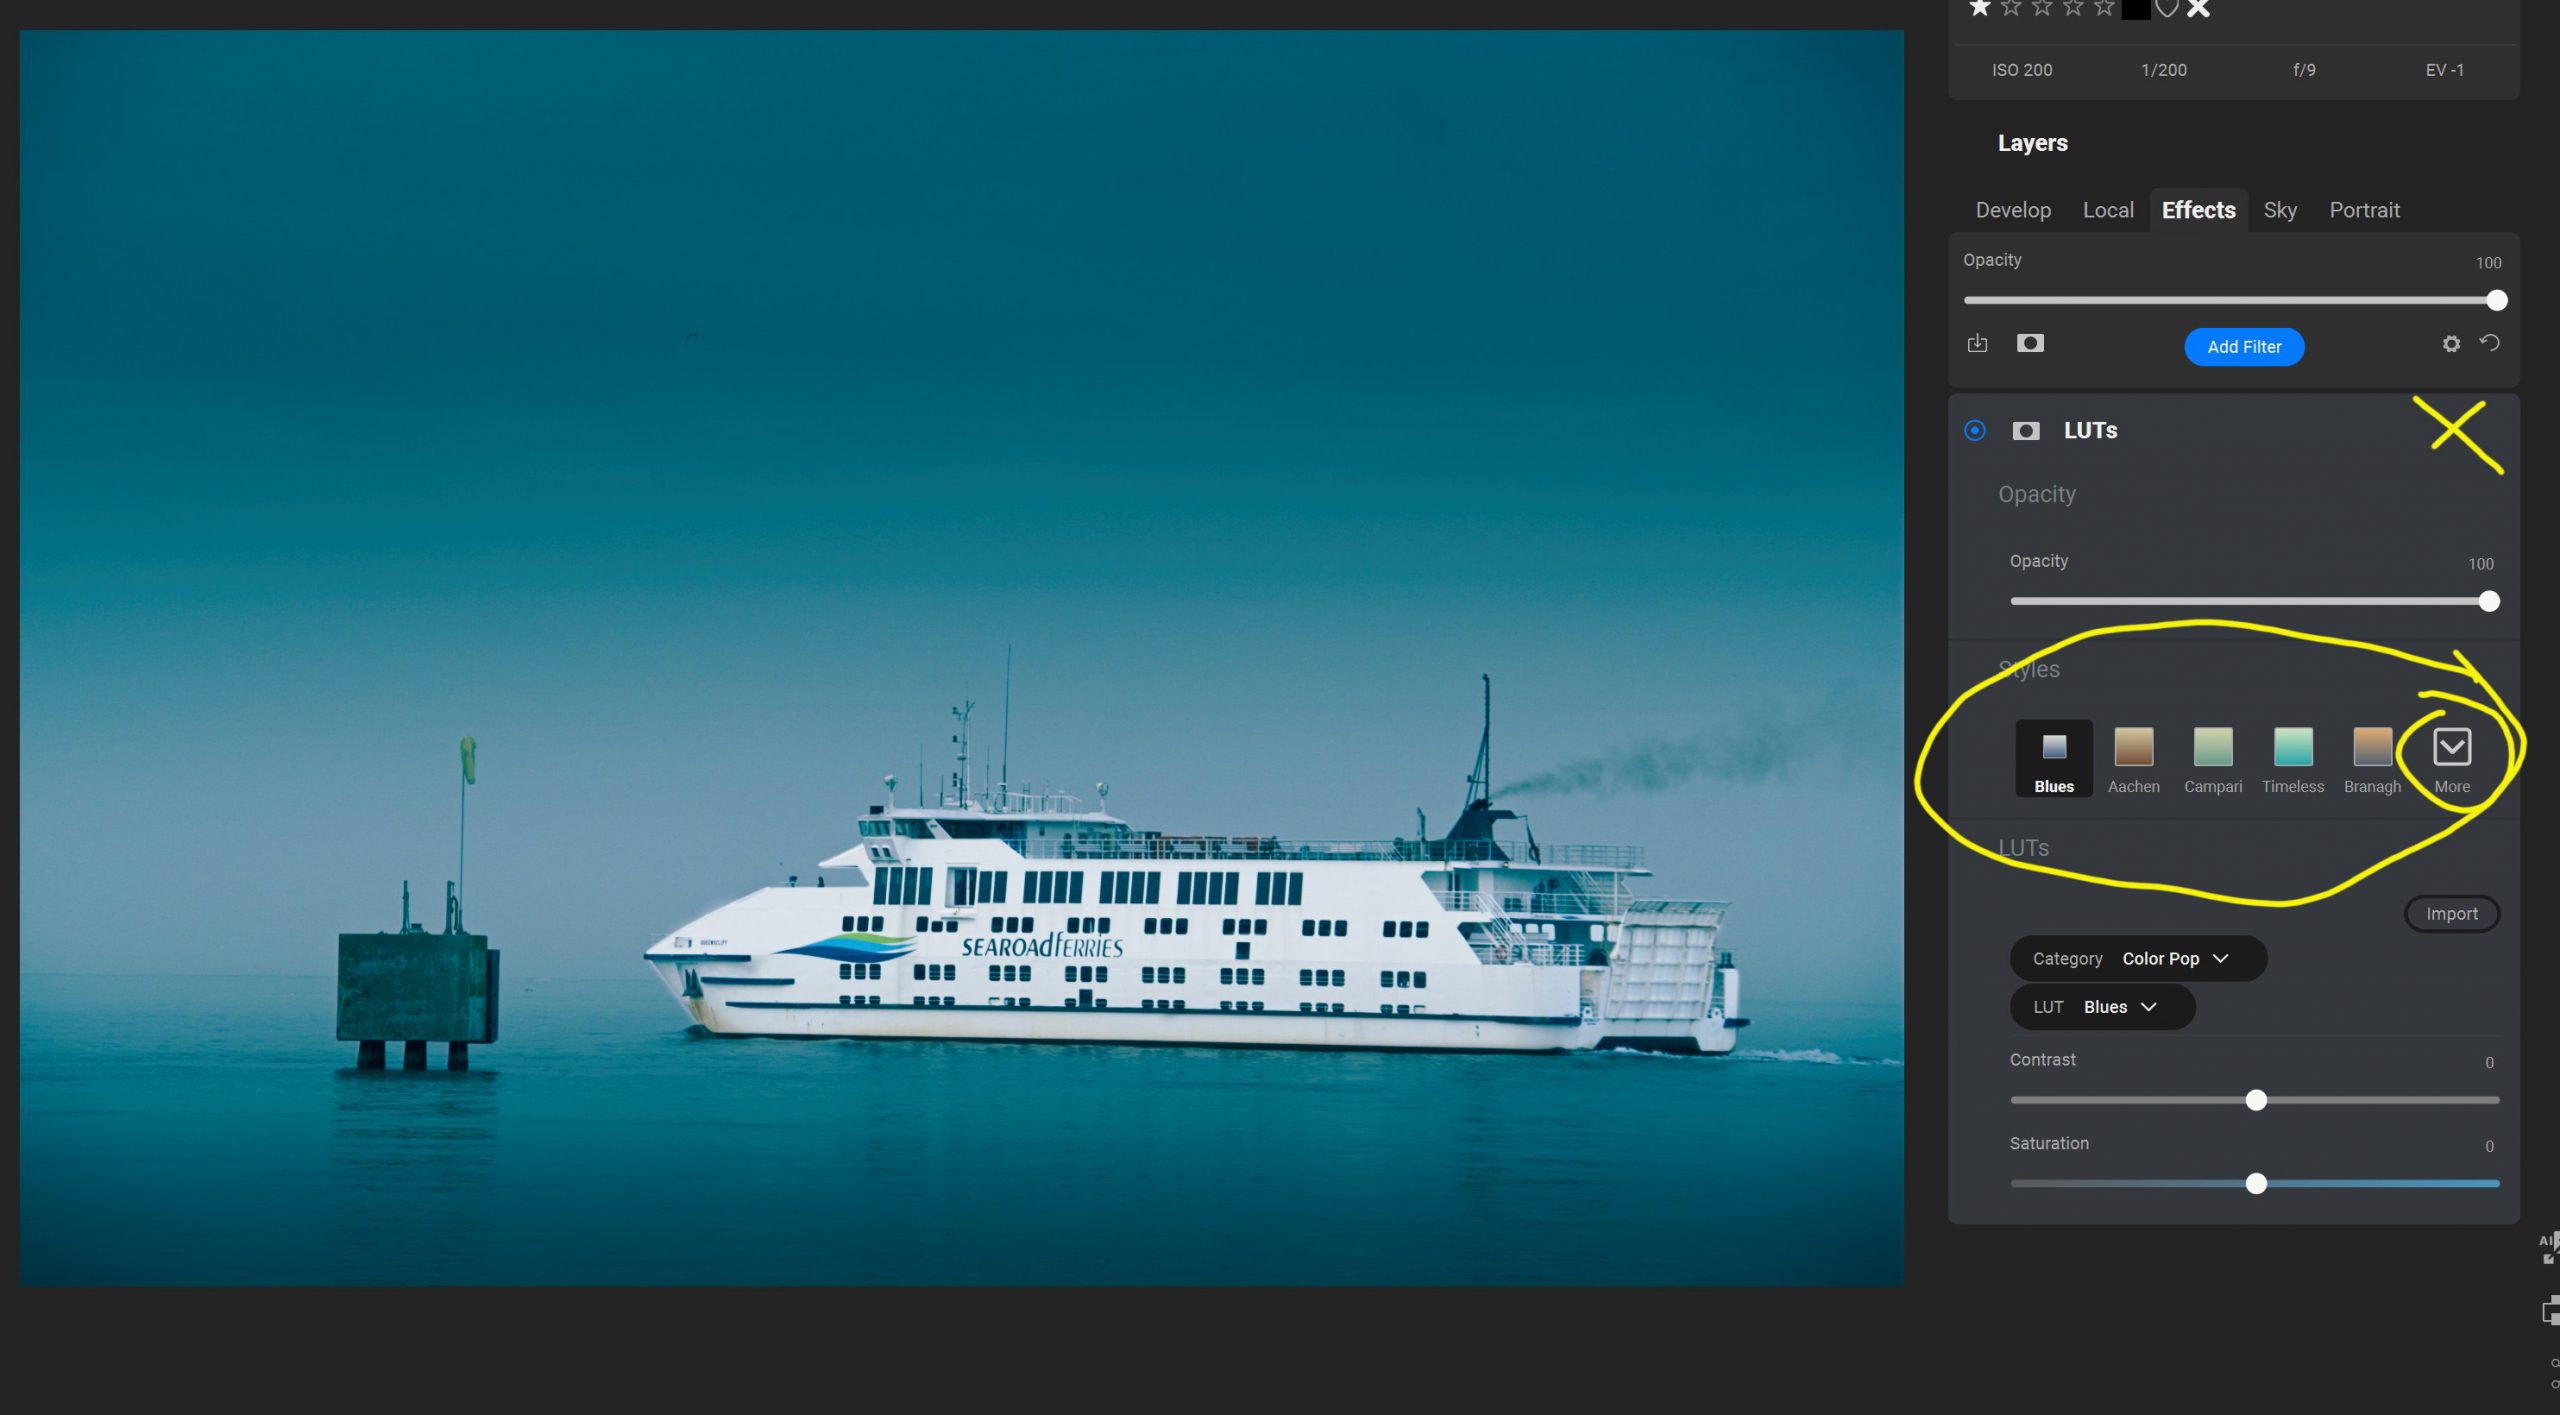
For this image all I want to do is add a bit of colour so it doesn’t look so drab. For that, we are going to click on LUTS.
When you first click on it in the panel you will see some options there straight away. I have put a circle around them in the image below and the colour you see that the image has changed to happens when you first select the Filter. There are a few options there, but if you click on the arrow at the end, you get a lot more choices. So you can hover over them to see which one you want to use.
In the end, after going through them all, I decided to use Keen. I hope you like what it does to the image.
I have put an X in the image above because I couldn’t get that part to work in the screenshot, but there you will find a symbol to reset the Effects or an X to delete the whole Effect if you don’t like it.
Let’s take a look at the final image now.

I haven’t done this for any of the other weeks, but as this is our finished image, let’s do a before and after.
Before we do the gallery, what did you think of this format this month? I know it has been simple, but I wanted to experiment to see if this was more popular. I’m still trying to work out if I want to keep doing this, so this month has been meant to help me decide.
Let’s finish with a gallery of all the images.


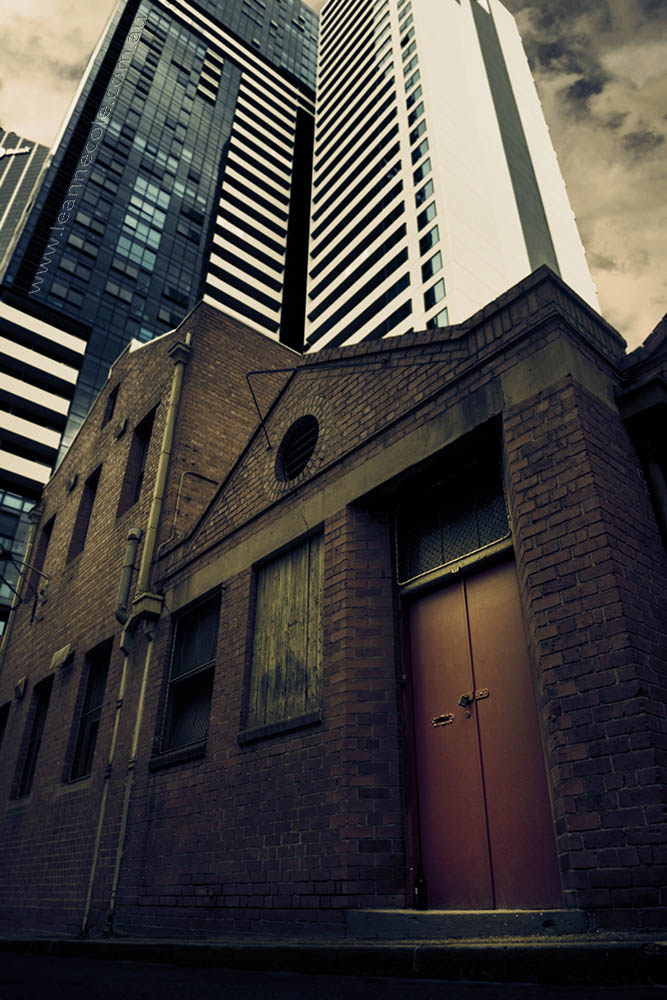

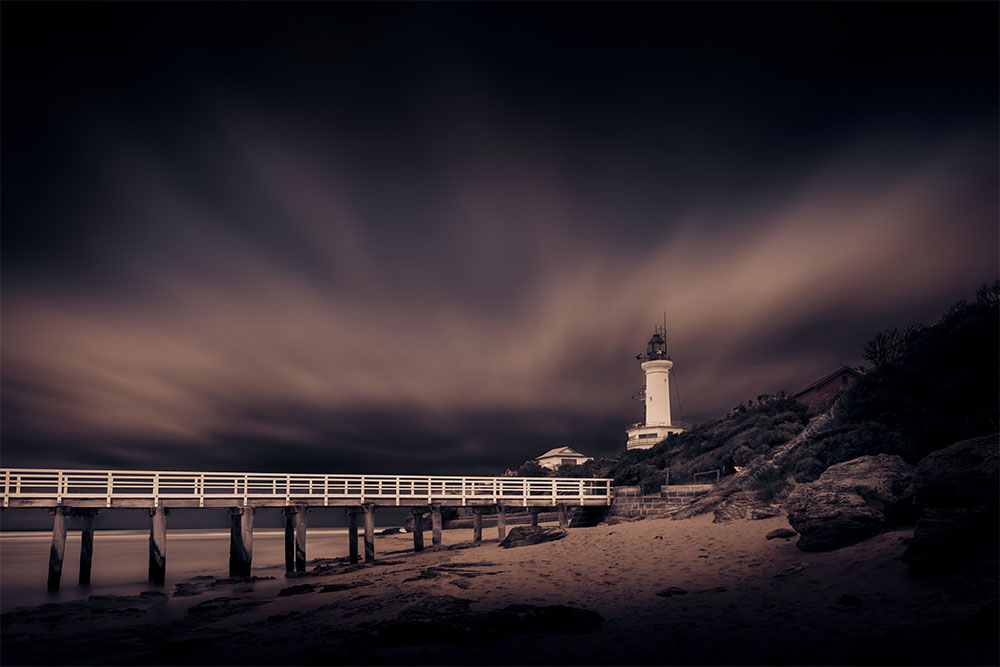
It’s interesting to see what different effects you can achieve, but the techie notes are for the techies!
The techie notes are for people who want to learn, the techies already know how to do this. Thanks Margaret.
quite a nice after –
Thanks Beth.
Great learning experience.
Good to hear, thanks.
This was a great image to start so, for me, I like all the different effects you used.
Thank you Lois, good to hear.
My favorite is Week 3. Week 4 is almost as good, but the purple tinge looks a tad forced.
It is forced, lol. Thank you.