Don’t go chasing waterfalls – Why not?
I heard this recently in reference to people driving up snow covered mountains to see a waterfall and then getting stuck. Then they needed someone to come and rescue them. So that saying fits those people. The saying means that people are being self-destructive when they go to waterfalls because they don’t realise how dangerous they can be.
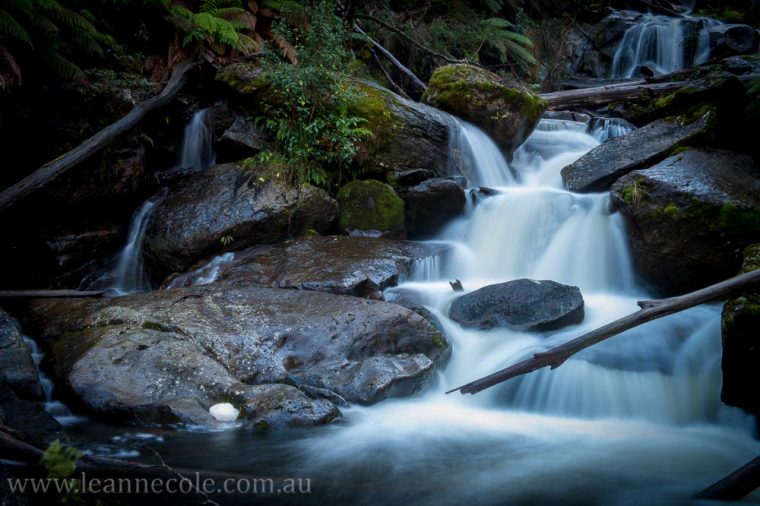
I have never thought of waterfalls as being dangerous. Maybe that is because I only ever intend to photograph them and not get under them. You can tell how powerful they are by the amount of water that rushes down them. Which also means the best time to photograph one is just after a massive rainfall. In Victoria right now it would be a good time to hit them after all the rain we have had in the last few days.
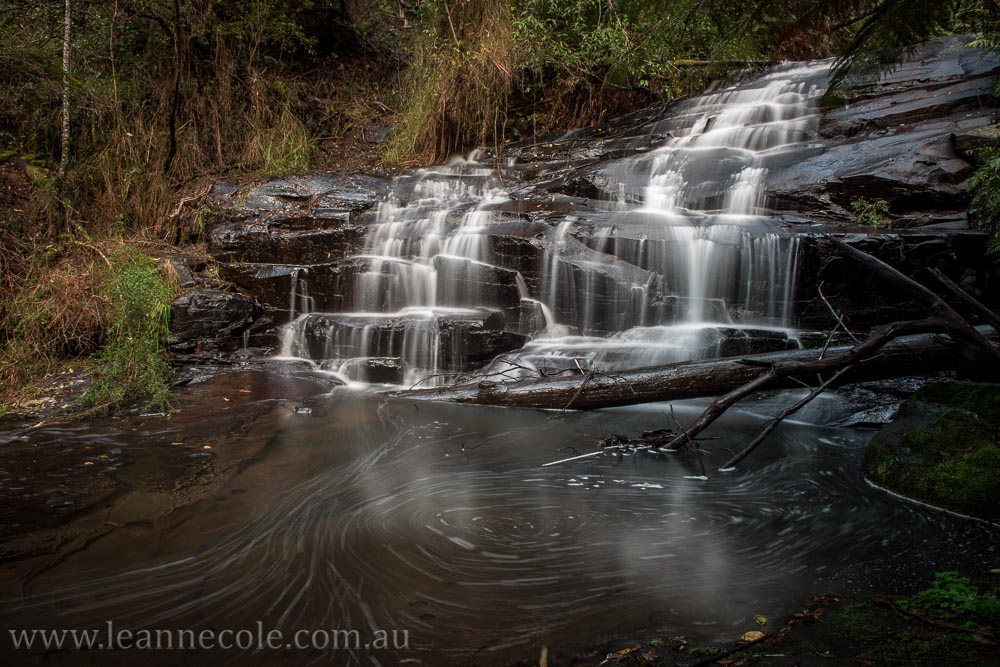
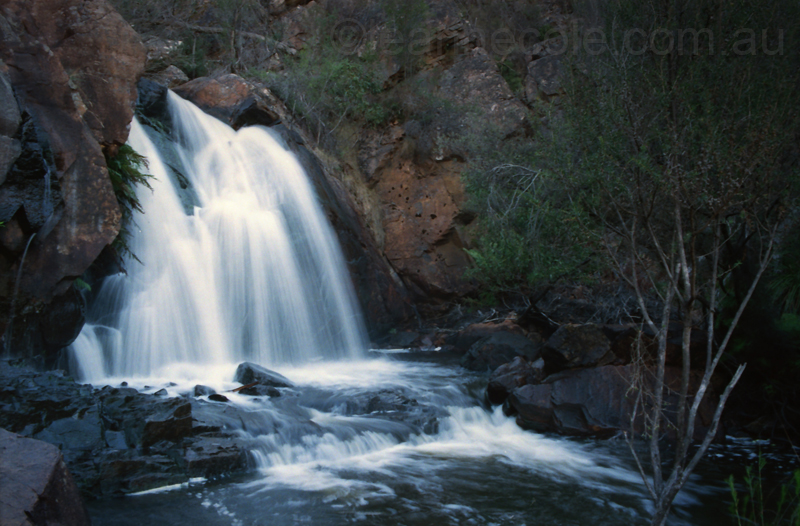
I love getting that marshmallow look of the waterfalls. So you can see how the water comes down them. There is something really magical about it. You know what else? It isn’t that hard to get.
If you ever wanted to get into long-exposure photography then waterfalls can be a great way to start. I’m going to tell you how.
You don’t need a lot of gear, but a tripod (sorry Marilyn) is essential for this kind of photography. You also need a camera that you can control the settings on. The other thing you might need is a filter, just a 3 stop or 0.9 one.
Though the filter might not be necessary, because many waterfalls are down canyons and are often dark anyway. All you need to get images like these is around a 10 to 20 second exposure. I think that is ideal, but anything really slow around a second will get you a good shot too. Some of the ones I’m showing you were taken around that time.
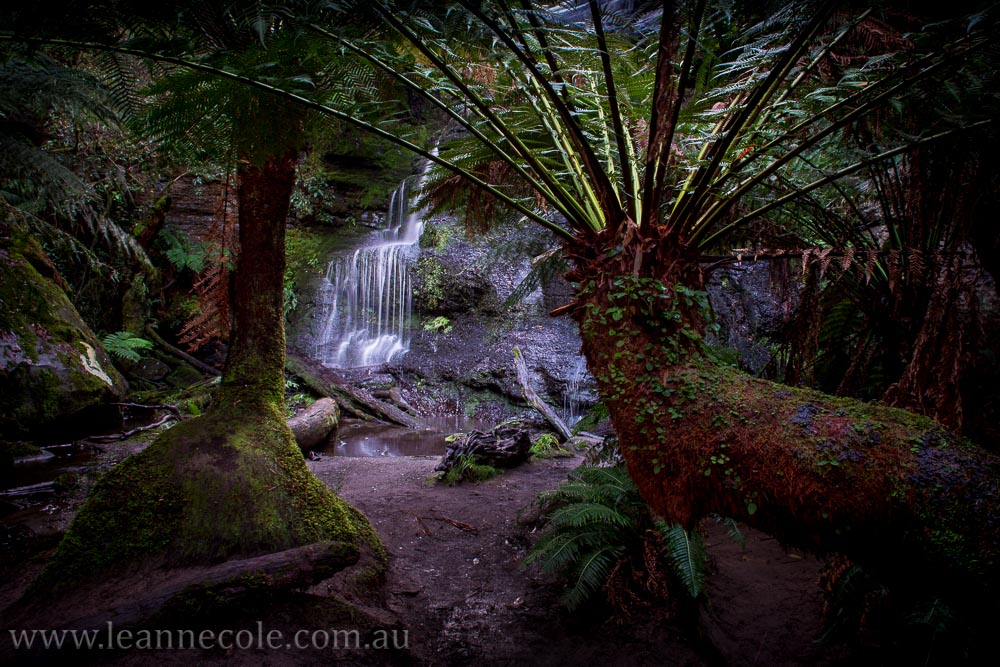
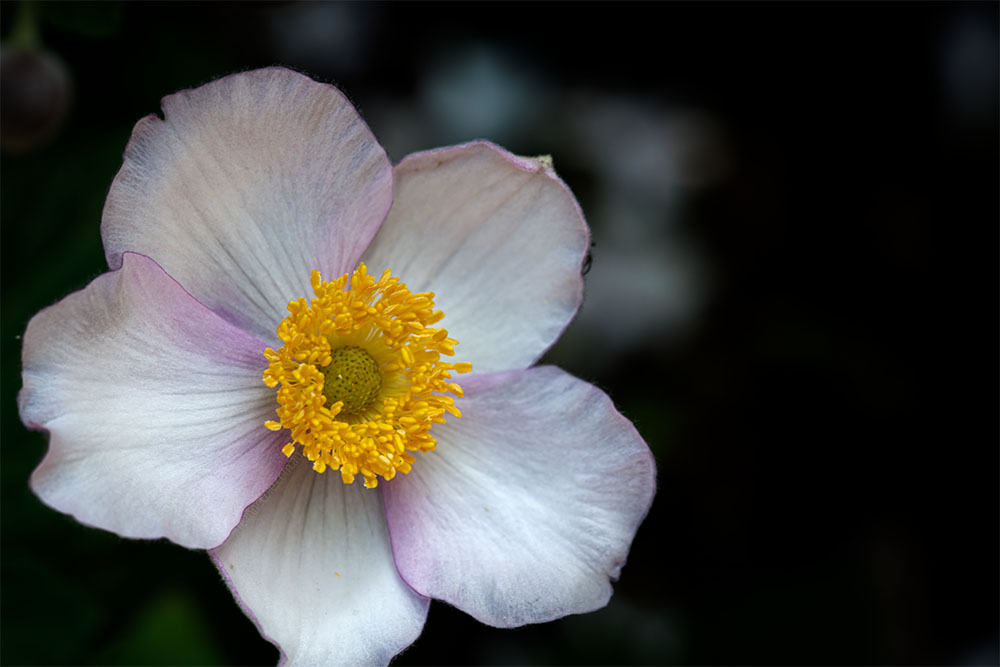
My first suggestion for photographing places with waterfalls is to take your macro lens with you as well. Walk straight down to where you want to photograph the falls. Look for the spot you want to use and then set up your tripod. Put your camera on it and now we need to get the camera to take the photo we want.
I don’t use manual mode much and always prefer to use Aperture Priority. That way I don’t have to work out the shutter speed. So set your ISO to the lowest number you have, whether that is ISO 100 or ISO 160, whatever, just put it on the lowest number. Do not use auto ISO for this.
Once you have done that try setting your Aperture to say f/8 and look at what your shutter speed is. If it isn’t at least 1 second then keep shutting down your aperture. It won’t hurt to go to f/14 or 16. If you can get that between 1 and 20 second exposure, click your shutter release.
You might need to be careful with clicking the shutter release, so if you can click it with an app on your phone or with a shutter release, that might be best.
Hopefully, you will get something like this.
You can see the water blurring down. The above image was taken at ISO 100, f/16 for 13 seconds. I can’t remember, if I’m honest if I used a filter. However, if I couldn’t get that length of time or the shutter speed then I would have put on my filter.
Filters for this are easy to use. I would recommend the first filter to buy would the 0.9 or 3 stop filter. I use Formatt Hitech filters. Here is a link to that filter, click here. I also have a code for you to get 10% off the filters, it is LCOLE10 and can be used on the USA site and the UK site.
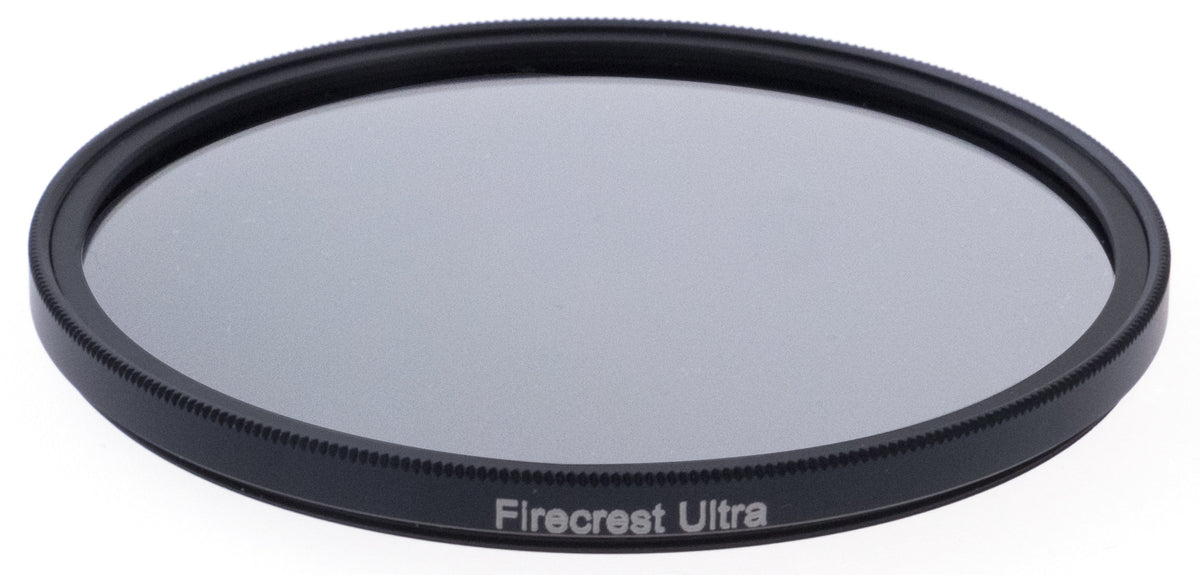
I’m showing you a screw on filter which is something I have steered away from, but it is probably the cheapest way to start. I am moving towards using them, but there will be a separate post on that soon.
The filter I’m talking about is a ND filter, or Neutral Density filter. I have written a post on this for someone else and when it is published I will let you know and give you the link.
The 3 stop is not as dark or dense as the ones you would normally use for long exposures, but for things like waterfalls it can be perfect.
You shouldn’t have to do anything different other than what I already talked about, set up the camera, if you can’t get the shutter speed you need then put on the filter. It should give you a longer exposure.
I also think it is good to experiment as well. Try different times and see what you get.
The only thing you need to be careful about is doing it for too long so that you just get a white waterfall with no definition in the water. You need that definition, so keep experimenting. Find out what sort of image you like and what you want to do.
Once you have the photos you want pack up and put your macro lens on the camera. If you don’t have a macro then put on a lens for the trip up. Now you can take all those photos of things you saw on the way down. This helps make the trip back up not so tiring. Especially, if you aren’t that fit.
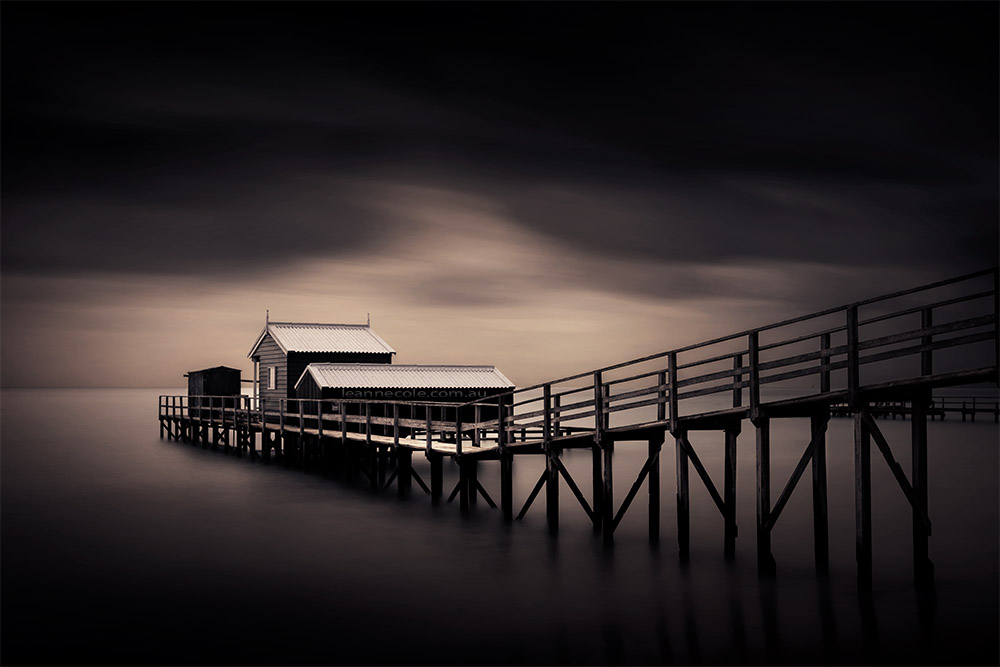
Here is another gallery of images for you. If you have any questions I will do my best to answer them.


")


If you like this sort of post let me know so I can plan others.
So beautiful! Well done
Thank you.
Great! I’ve always gone for the freezing of the movement, and not really tried slow speeds. but I’ll certainly have a go next time!
Yeah there are some other people that said they don’t like what I’ve done, but hey everyone should do what they want. Let me know if you do try it Geoff I would like to see. Thank you.
Great advice, Leanne. I’m going to take notes so I have this info the next time we see a waterfall.
I hope it helps Carol, thank you.
Gorgeous photos and good directions for long exposures.
Thank you Egidio, that is great.
Thanks for this useful info Leanne, we can all learn from it.
Thank you Rudi that is good to hear.
Great post, Leanne! Just one question. What do you focus on – rocks around the water, water itself, etc.
As for your question, yes, I’d like to see “anatomy” (so to speak) of your cityscapes.
Good question Svetlana, I would focus on the rocks right beside the water. As close to it as I can, then put the focus on manual so I don’t screw it up. The cityscapes would be a big post. Let me think about it.
Thanks.
I knew it was going to be something beyond pointing the camera and taking the pictures and I was pretty sure it was going to involve a tripod and a slow speed. I really have to extract my tripod and use it — at least for this. There are 46 waterfalls/dams near me. The material is there, I just have to wrap my head around doing what I need to do and that will probably mean finally buy a really GOOD tripod with a good ball head. Suggestions? I have a very lightweight set, but I don’t trust it. Too flimsy. I have another but it’s even less stable because it folds up really small AND I have a heavy duty set of sticks, but no head for it. The heavy one is too heavy for me so I guess I need one that is stable enough to keep my camera from falling, especially with a long lens on it AND not so heavy that my cardiologist would have a fit. AND I need a good head for it because if I’m going to do this I need to finally get it right.
Yeah sorry Marilyn, definitely need a tripod for this, I’m going to leave a link at the end of this comment for the tripod I use the most. It is mid range, and easy to use. It is a bit pricey though.
I think if you have that many waterfalls, you should be photographing them, I would be. lol. The thing with using a tripod is that the more you use it, the easier it gets. I am with you about heavy ones, if I have to walk a lot I don’t like taking my big one, but it is very handy for days when it is really windy.
Thank you Marilyn and here is the link,
https://www.3leggedthing.com/us/bucky-carbon-fibre-tripod-system-config.html
Softer images of running water seem to be popular, but I like photos taken with a quicker shutter that literally freeze the motion, resulting in an image so clear that you can see the droplets.
They are very popular, but that doesn’t mean you have to like it, each to their own. I don’t like seeing every drop unless I’m trying for something specific.
Dear Leanne
for me the water of most waterfall-pictures don’t look like water but like yoghurt.
Well, this long exposure spoils the picture of water for me.
Sorry, to say that
Klausbernd 🙂
That is okay, we can’t all like the same things.
I am fortunate to live in an area where there are waterfalls to enjoy as well. Although it is technically spring here in New Brunswick (Canada), it’s still wretchedly cold and the paths to the various falls are quite treacherous. Once the temperatures improve (and it stops threatening to snow!) I’ll be dragging my tripod out and off to the wilderness.
Enjoyed your exposé on how to do it.
Ceci
Sounds good Ceci, you are lucky. There are many waterfalls around Melbourne, but it is around a two hour drive, so always a nice day out.
Thank you, I’m glad you enjoyed it Ceci.
Thanks for the info and the beautiful images Leanne. When I’m able to I’ll try waterfalls.
Oh yes I hope you are able to do them soon Anne. Fingers crossed. Thank you.
Very beautiful, Leanne! I haven’t used an ND filter in a long time.
I use them all the time, about to change the way I do though. Thank you John.