Macro photography can be done in many ways. You can choose which direction you want to go about it, whether that is through focus stacking or just having fun with it, being satisfied with what you can get. Like all things with photography it is up to you. The same can be said for processing your macro images.
In this article we are going to look at 5 tips to help you improve your macro images with Lightroom. They are just suggestions and you can do all or none of them. It is hoped that it will help you rethink your images and give you ideas on what is possible with Lightroom.
1 – Cropping the Image
“Always frame your image in the camera” is something that many of us who came from film were taught to do. It wasn’t as easy to crop images back then, especially if you didn’t have your own darkroom. Fortunately, that’s not the case now and you should make the most of the option.
Cropping your images can mean that the files will be too small, or you limit your choices for prints. To some extent this can be true, but if you have an image and your macro subject is small in it then it is something you should try. You should always do what is best for your photo.
You can also crop so you can get the best composition possible. That may be a little or maybe more. It is tool that you should always consider using. Crop out something that detracts from the main subject, or crop to focus in more. You could do it to get the subject on one of the third lines. There are quite a few reasons for doing it.
Firstly, you really need to know what you are going to use the image for. If you want to print it very large, then cropping might hinder that, however if it is just an image for social media, then it won’t matter as much.
2 – Use the Brush or the Radial Adjustment
There is no need to accept that you must give your images the same treatment all over. You can pick and choose which parts of your image will get something different or extra to the rest. This is where the radial or brush adjustments can be good.
The radial adjustment allows you to select an area using a circular selection. You can either change what is outside it or you can ask it to change what is inside. You are given a lot of options to choose from. For example, you can choose to change the exposure, or bring up the highlights, or maybe add more black to the image. You can select more than one adjustment at a time.
The adjustment brush is similar to the radial, but you can really fine tune and paint where you want the adjustment to be. It can be good for bringing out the subject of your image. It is especially good for using on fine details where the radial tool would not be able to do as well.
When using either of these it is often suggested that you move the adjustments too far, when you know it is too much, bring it back to where it looks good.
3 – Add Vibrance to Your Subject
There is a big difference between saturation and vibrancy. Saturation really brings up the colours so they are bolder and stand out more. Over saturated images lose detail and start to look like a blob of colour. Vibrancy is subtler and doesn’t allow colours to become over saturated. It is a better way to bring up the colours in your images. Saturation should be avoided as much as possible.
You do have to be careful with this adjustment, but if used well it can be great to give your subject a some vibrance. It will help your subject stand out from the background. Though, you do need to be careful and watch the image as you don’t want to make it look to unrealistic.
Flowers can be tricky and there are colours that don’t look good when you put the vibrance up. Colours like red, bright pink and purple, so take care. You need to be watching them all the time.
4 – Make the Subject Stand out from the Background
There are many ways of making your image stand out in an image, here we are going to look at what you can do to the background to help it along.
When you are photographing anything, it is important to remember that the eye of the viewer will automatically be drawn to the lightest part of your image. Macro is no different. You need to make sure that your macro object is what catches the eye first and keeps them there.
Make sure your subject is lighter than the background. Perhaps you can use the radial adjustment and put the exposure down on the outside to make the flower stand out more.
Another way of doing that is to take away some of the vibrance or saturation from the background so your subject can stand out. Like with the lightest part, your eye will be drawn to the most colourful part as well. Taking away the colour from behind it can make it stand out more.
5 – Adding a Vignette
Vignetting is one of those adjustments that people love or hate, however it is also a great way to help your subject stand out and direct your viewer to where they need to look.
You can use it to help darken the background, so the focus of your image is all about the flower. If you have bright spots of light around your subject this can potentially stop them from being as distracting.
Leading lines are really important, though a vignette isn’t really one, but you can use it to help show your audience where they need to look. It can be effective if used well.
Finally
These are general tips for using Lightroom, however if you were using other software you may have a lot more options. Lightroom can be more limiting, but it doesn’t mean you can’t create amazing macro images with it. If you love macro photography, then see if you can use these tips to get the best possible images. Get the ones that will stand out.
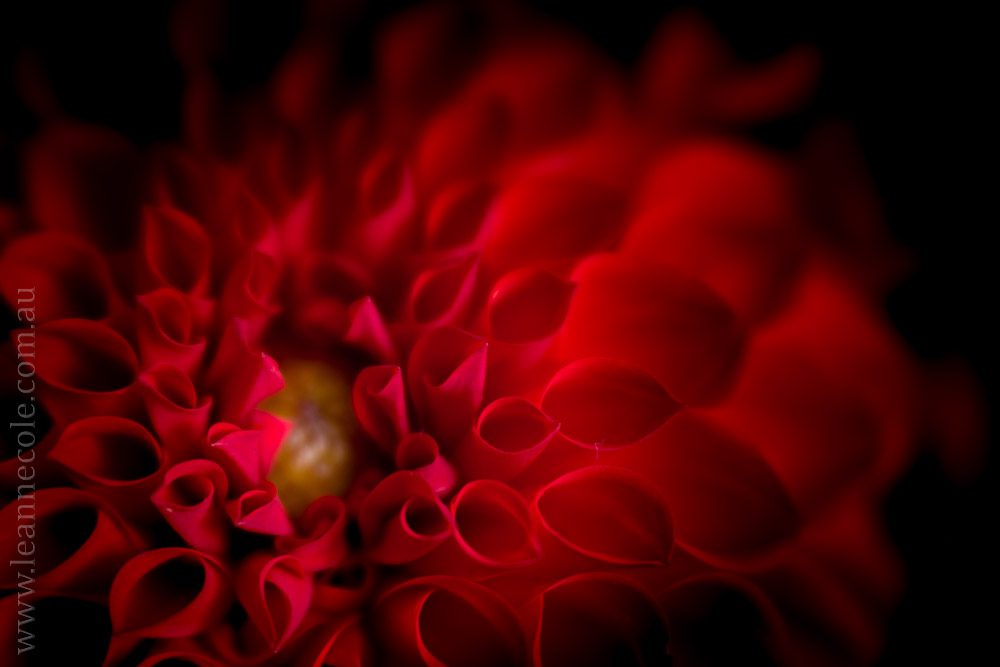
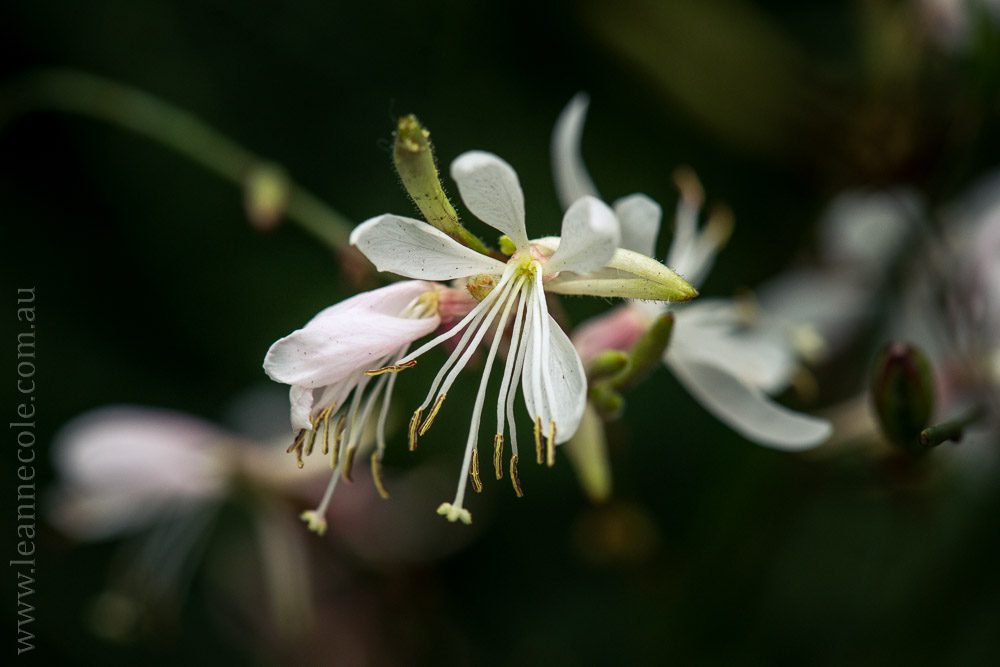
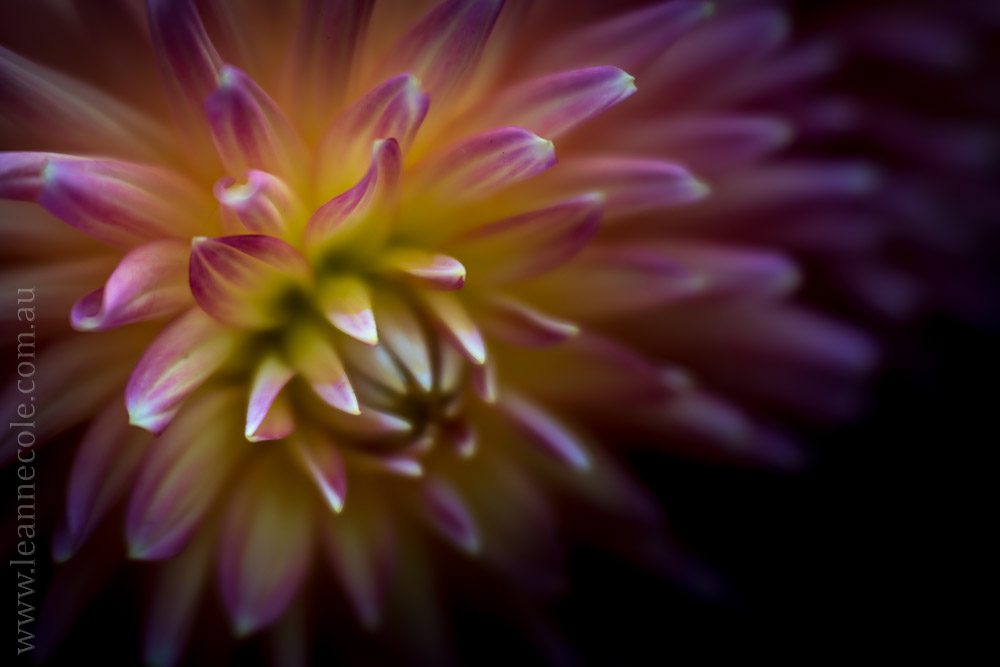
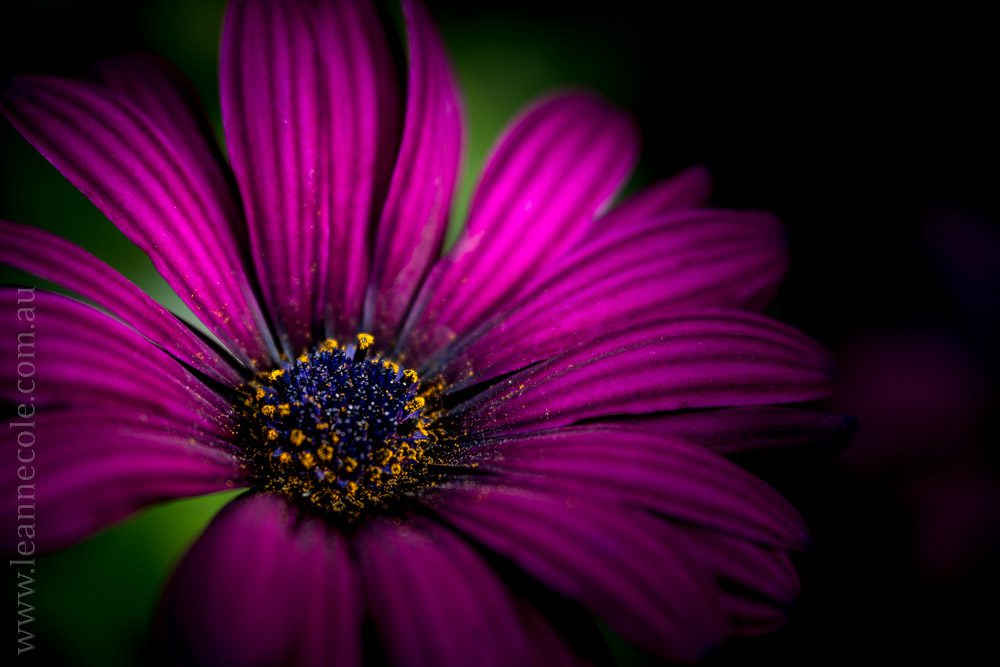

Thank you for the tips! These photo are exquisite, Leanne. 🙂
You’re welcome Amy and thank you.
I don’t use Lightroom yet but your tips were still quite helpful! Thanks so much!
You’re welcome, if you ever start using it, you will know where to come back and learn some things for macro. Good luck with your photography.
Exactly! Thanks!
😀
Great tips!
Glad you think so, thank you.
Absolutely love these tips on Macro and Lightroom… thank you
You’re welcome Pam, glad they were helpful. Thank you.
Great tips Leanne – I love the radial filter in LR!!
It is a great tool for Lightroom, I use it a lot. Thank you Nora.
Great post, great tips! Thanks Leanne …
Thank you Julie, good to hear.
some great tips here. I think i would crop in photoshop and resize before editing in lightroom. I run LR4 so do not have the luxury of the radial filter, using the adjustment brush hopefully will work as well. I really do enjoy your macro work on flowers.
That is an interesting workflow Ange, most people edit in Lr first before going to PS. Thank you.
I prefer Lightroom over Photoshop. Thanks for the tips!
You aren’t alone there Froggie, many do. You’re welcome.
Beautiful photos. Thanks for the helpful tips. In love and light Cheryle
YOu’re welcome Cheryle, good to hear you found them helpful. Thank you.
Can I ask you a question since you are an expert. When trying to change the length by width(px) to be used on a product why do some programs not allow you over 4000 on w or h?
I don’t know for sure, but maybe it is because you are trying to make the image bigger than what it actually is. It is hard to know without knowing all the details.
ok thanks well I know of no way to make a image 11,600 px 🙁
What are you using to try to do it? How big is the original image. None of my images could be blown up that big unless I was using special software, or I paid someone to do it. Otherwise it would look very pixelated.
Pixlr or GIMP I take very large photos with my Nokia but then they are over 9 MB which is also not allowed 🙁 I have tried to google info but most reply with info from photoshop which I do not have on computer
I don’t know enough about those programs now, but I would imagine that it would be impossible to blow up images to that size. My images are oround 50 MB and I can only go to 8000 pixels on the longest side.
OK well I shoot with a 42 mp camera and the are large files I will shoot the company a question thanks so much for listening and responding xo
I’m sorry I wasn’t able to help, I don’t know enough about what you are trying to do.
I do appreciate your time
Thank you, Leanne. Beautiful photos. Great tips.
You’re welcome Tim, and thank you.
I don’t have Lightroom but I expect I could do most of what you suggest with the software I use. Very interesting, when I am feeling better I may try it out.
they are all fairly basic adjustments, so you should be able to RJ, sorry to hear you aren’t well, hope you get better soon. Take care.
As always, lovely photos. Your tips for macro photography also apply to many other types of photography.
Thank you Erich, I guess they do, that is great that you think that.
Even though I am using Affinity Photo and not Lightroom, I found your tips extremely useful and I thank you for presenting them so well, Leanne.
That is really good to hear Peter, you’re welcome and thank you.